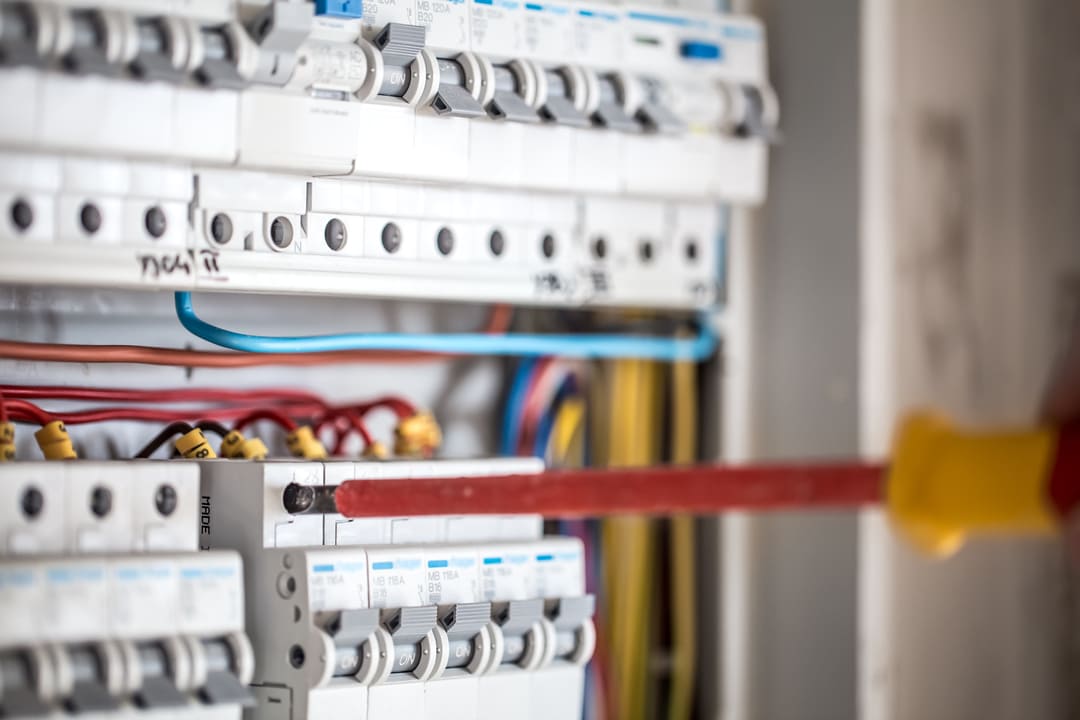
Wondering how to wire a house? In this article we explain it step by step.
Wiring a house is a fundamental step in renovating or building a home, and it is essential to get it right to avoid any risk. The process can get quite complicated without the necessary experience, so we recommend getting help from an architecture studio in Málaga.
Whether you are wiring a new-build house or carrying out a change of use from commercial premises to a home (cambio de uso de local a vivienda), you need to know what precautions to take and which steps to follow. We cover it all in this post!
Precautions before wiring a house
To carry out the work safely, make sure the following points are covered before you start:
- First, switch off the main switch to cut the power supply.
- Follow the regulations in force. In Spain these are set out in the RBT (Reglamento Electrotécnico para Baja Tensión, the low-voltage electrical regulations) but, if in doubt, we recommend consulting an authorised installer (instalador autorizado).
- Always use approved products and tools.
- Know which type of conductor each colour corresponds to:
- Green and yellow: earth conductor
- Blue: neutral conductor
- Brown, black or grey: live (phase) conductor
It is very important to keep these precautions in mind.
They apply whether you are wiring a detached house or a home in a multi-family residential building.
Now that we know what to do beforehand, let’s go through the electrical installation step by step:
1. The wiring diagram
To follow a logical order throughout the process, start by drawing a sketch of the house, identifying each room and marking where you want the lighting points, sockets and switches to go.
Once these elements are located, connect them using a different colour according to their use and rating. For example, one colour for all the 10A circuits for lighting or phone chargers; another for the 16A circuits for general-purpose sockets and the fridge; and another for the 20A and 25A circuits for the main household appliances, as well as electric heating and air conditioning.
Once this is done, the next step is to bring all those coloured lines to the main control and protection panel (cuadro general de mando y protección), also known as the cuadro eléctrico, consumer unit or fuse box, whose job is to protect the home’s electrical circuit. It is made up of the following protective devices:
- Main circuit breaker (Interruptor General Automático, IGA)
- Residual current device, RCD (Interruptor Diferencial, ID)
- Miniature circuit breakers, MCBs (Pequeños Interruptores Automáticos, PIA)
2. Where the cables run
This step involves placing the cabling in the walls. There are two ways to do it: concealed, which gives a neater finish but requires building work, or surface-mounted, using decorative plastic trunking. Both options are valid.
When installing the cabling, flexible cables are advisable as they are easier to handle, although rigid cables are also used. All socket outlets must be connected to the earth, live and neutral conductors.
3. Layout of switches and sockets
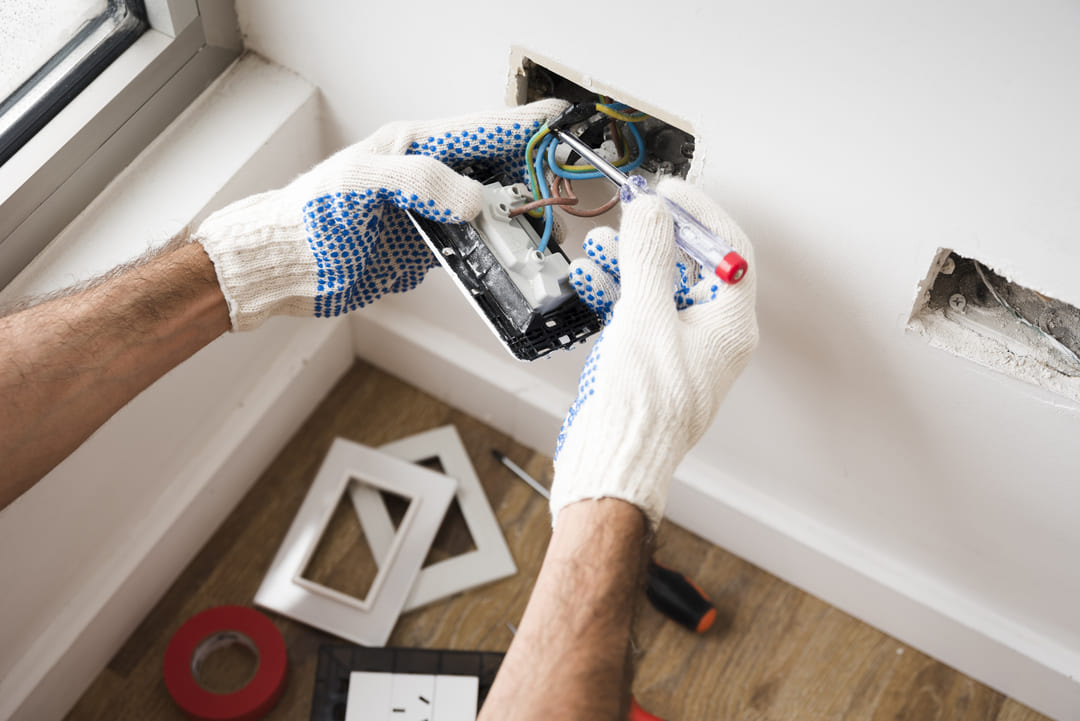
Depending on the room, switches and sockets are placed at a specific height according to what they will be used for. It is advisable to place switches 110 cm above the floor and sockets 20–30 cm above the floor, except in the kitchen, where they will be used for small appliances, the extractor hood or the oven.
For these uses, heights of 110 cm, 170 cm and 35 cm respectively are recommended.
4. Installing and connecting the wiring
In this step, each cable is run from its corresponding switch to the consumer unit. To do this, follow the sketch drawn in step 1, connecting all the switches and sockets to their circuit.
Then, in each room, connect every switch to its corresponding lighting point.
We hope this post has answered your questions about how to wire a house.
If you are planning to rebuild or refurbish a home, do not hesitate to get in touch with the professionals at Klic Arquitectos. We are here to help!
Rate this article on how to wire a house.