Wondering how to wire a house? Here is the process, step by step.
The electrical installation is one of those jobs that quietly decides whether a refurbishment works or gives you trouble for the next twenty years. It is also one of the easiest to get wrong, and the hardest to put right once the walls are closed. If you are building or refurbishing on the Costa del Sol and the Spanish way of doing things is new to you, it pays to have an architecture practice in Málaga alongside you from the start, one that already knows what the local rules ask for.
Whether you are wiring a new-build house from scratch or converting a commercial unit into a home — a change of use from commercial premises to dwelling (cambio de uso de local a vivienda) — the precautions and the running order are the same. Here they are.
Precautions before you start
Before anyone touches a cable, four points need to be covered:
- Switch off the main switch at the consumer unit to cut the supply. Then check the circuit is actually dead.
- Follow the regulations in force. In Spain that is the RBT (Reglamento Electrotécnico para Baja Tensión), the low-voltage wiring regulation and the Spanish counterpart to BS 7671. If anything is unclear, ask an authorised installer (instalador autorizado) — roughly the Spanish equivalent of a Part P registered electrician, and here the only trade that can certify the work.
- Use approved tools and approved products. Always.
- Know which colour does what:
- Green and yellow: earth
- Blue: neutral
- Brown, black or grey: live
Those are the harmonised European colours, so they will look familiar to anyone used to current UK practice. In older Spanish properties, though, take nothing on trust: what comes out of the wall is not always what the colour code says it should be.
The same precautions apply whether you are wiring a detached villa or a flat in an apartment block.
With that out of the way, here is the sequence.
1. The wiring schematic
To keep the job in a sensible order, start with a sketch of the house. Mark every room and set out where you want the lighting points, the sockets and the switches.
Once those are placed, join them up using a different colour for each type of circuit, according to use and rating. One colour for the 10A circuits serving lighting and phone chargers. Another for the 16A circuits feeding general sockets and the fridge. Another for the 20A and 25A circuits that take the main appliances, along with electric heating and air conditioning.
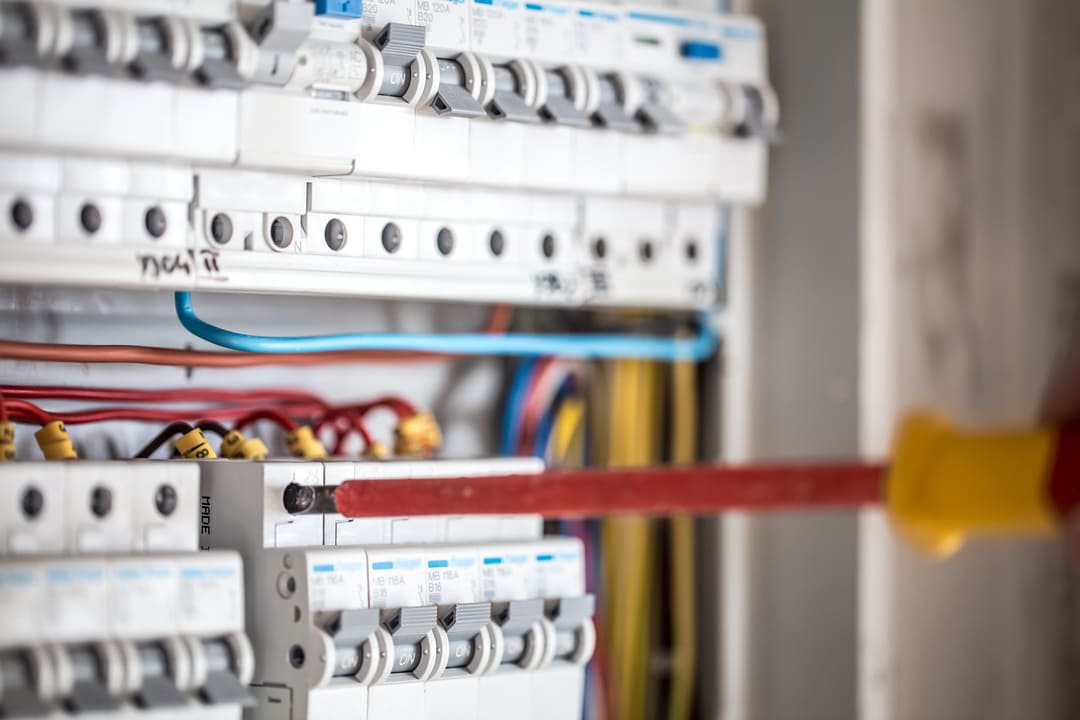
With the circuits drawn, the next step is to bring all those lines back to the consumer unit — the cuadro general de mando y protección, also known simply as the cuadro eléctrico — whose job is to protect the whole installation. It holds these protective devices:
- Main circuit breaker (Interruptor General Automático, IGA)
- RCD, or residual current device (Interruptor Diferencial, ID)
- MCBs, the individual circuit breakers (Pequeños Interruptores Automáticos, PIA)
2. Where the cables run
This step is about getting the cabling into the walls. There are two ways of doing it: chased in, which looks tidier but means cutting into the wall and making good afterwards, or run on the surface in plastic trunking. Both are perfectly acceptable. Bear in mind that Spanish walls are usually brick or block rather than stud, so chasing here means proper builder’s work, not lifting a plasterboard sheet.
For the cable itself, flexible conductors are easier to handle and are generally the sensible choice, although rigid cable is also used. Every socket outlet must be connected to earth, live and neutral.
3. Socket and switch heights
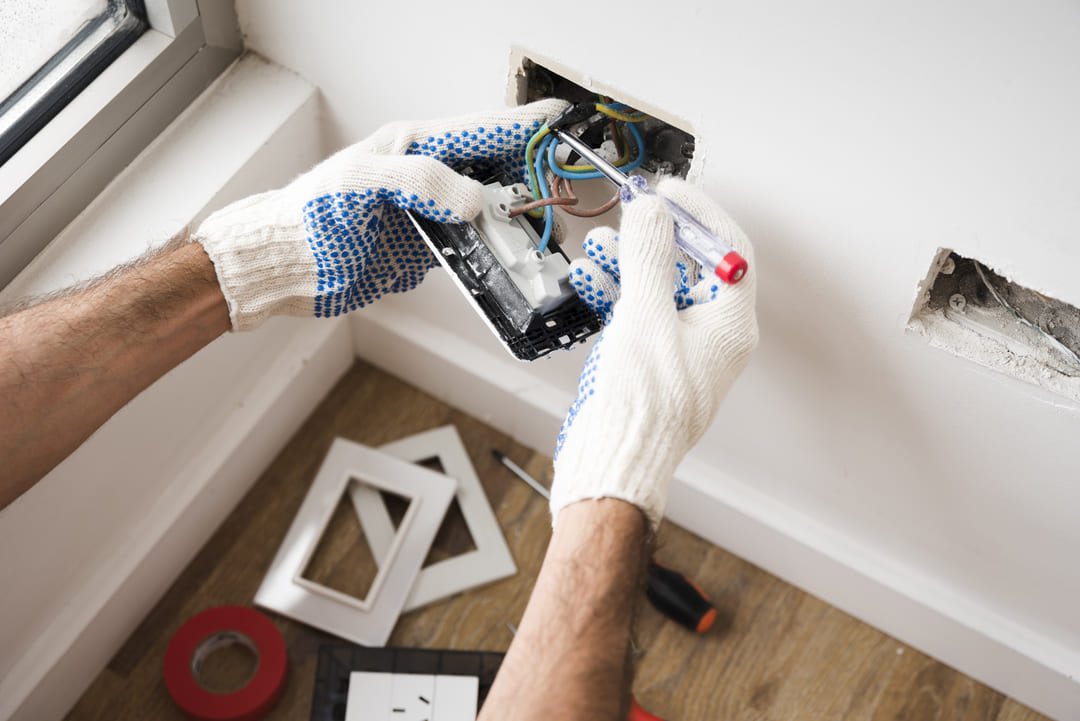
Heights vary from room to room, depending on what each outlet is for. As a rule, put switches at 110 cm above floor level and sockets at 20–30 cm. The kitchen is the exception, because the sockets there serve small appliances, the extractor and the oven: for those, 110 cm, 170 cm and 35 cm respectively.
These are the heights that make a house comfortable to live in. Get them wrong and you notice it every single day — usually behind a fridge you cannot move.
4. Installing and connecting the wiring
Now each cable is run from its switch or socket back to the consumer unit. Work from the sketch drawn in step 1, connecting every switch and every socket to its own circuit.
After that, room by room, each switch is connected to the lighting point it controls.
That, in short, is how to wire a house: schematic first, cables second, heights third, connections last. Doing it in that order is what keeps the cost down, because every change made after the walls are closed is paid for twice.
If you are planning a rebuild or a refurbishment on the Costa del Sol and would rather have the electrics designed on paper than improvised on site, the team at Klic Arquitectos can look at it with you. It is the kind of work we do week in, week out.
Found this useful? Rate this article on how to wire a house.